
As the title says, this is a simple tutorial on how to create and config the SSH keys, so you can use Git via SSH. It will include steps for both Github and Bitbucket. A lot less tedious if you are working on a Github private repository, especially when compared to cloning over HTTPS.
Notice: Make sure you have Git for Windows installed before you begin with the tutorial!
1. Generating SSH Keys
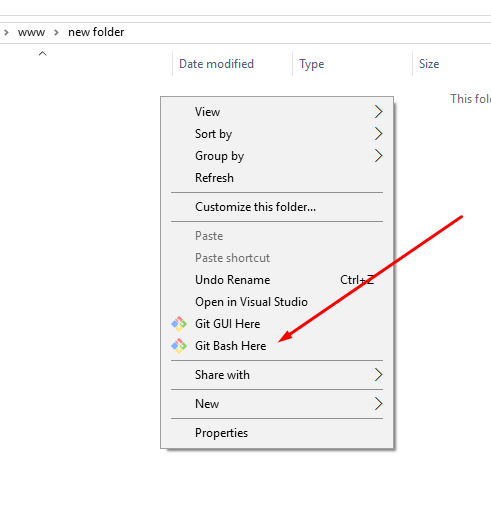
If you have Git installed, open Git Bash (it doesn’t matter where, for now).
In the new Git Bash window type in:
ssh-keygen -t rsa -b 4096 -C "your_email@example.com"Important: Exchange your_email@example.com with your email.
This creates a new ssh key. When you’re prompted to enter the file name, enter anything you like, an example would be mygit_rsa, like this:
Enter a file in which to save the key (/c/Users/golub/.ssh/id_rsa): mygit_rsaAfter that, it will ask you to enter a password. It is highly recommended that you do so. Once you have finished with this, copy the public key to your clipboard (same as doing a Ctrl + C) with this command:
clip < /c/Users/>USERNAME/.ssh/mygit_rsa.pubImportant: Don’t forget to change the USERNAME part of the command to your own windows username!
3. Create a SSH config file
Using your favorite text editor, create a new file at C:\Users\USERNAME\.ssh\config or edit the file if it already exists. The file should go as follows if you are using Bitbucket:
Host bitbucket.org
 IdentityFile ~/.ssh/mygit_rsa
If you are using Github, use this:
Host github.com
 IdentityFile ~/.ssh/mygit_rsa
Warning: You will have to restart the Git Bash window after this step.
3. Import Public Key
3.1 Github
Sign in to your Github account, and open up the Settings page. After that navigate to SSH and GPG keys. At the top left corner, you’ll find the button for New SSH Key. After that, paste the public key into the form and add any title you want for the upper input.
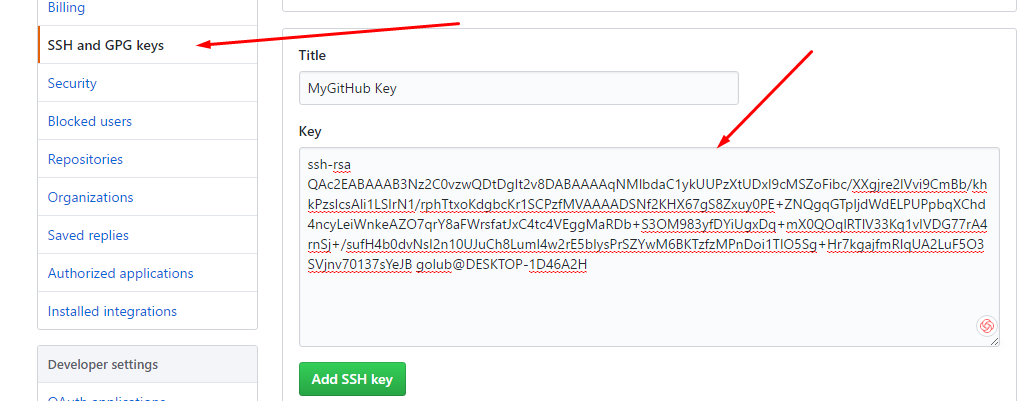
A proper SSH Public Key should start with ssh-rsa at the top, as you can see in the image, if not, you probably haven’t copied the right file to your clipboard. Make sure you do!
3.2 Bitbucket
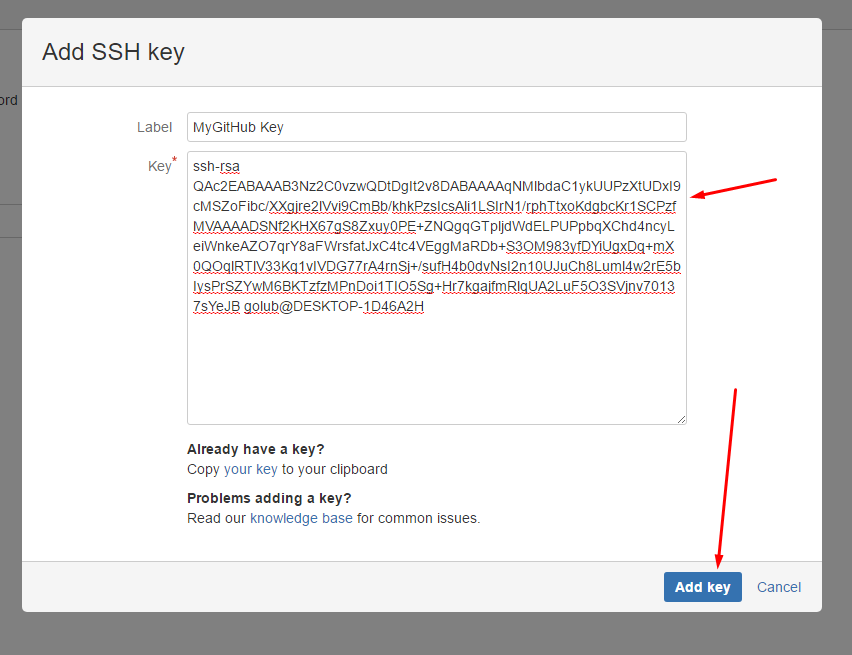
The process for BitBucket users is basically the same. Go to your Bitbucket Settings and under Security you’ll find the SSH Keys. Add a new key, and input the data as follows:
4. Update your .bashrc profile file
To make sure the ssh-agent runs whenever you open Git Bash, you have to update your .bashrc file. Create a new file (if it doesn’t already exist) at C:\Users\USERNAME\.bashrc and input this:
SSH_ENV=$HOME/.ssh/environment

# start the ssh-agent
function start_agent {
    echo "Initializing new SSH agent..."
    # spawn ssh-agent
    /usr/bin/ssh-agent | sed 's/^echo/#echo/' > "${SSH_ENV}"
    echo succeeded
    chmod 600 "${SSH_ENV}"
    . "${SSH_ENV}" > /dev/null
    /usr/bin/ssh-add
}

if [ -f "${SSH_ENV}" ]; then
     . "${SSH_ENV}" > /dev/null
     ps -ef | grep ${SSH_AGENT_PID} | grep ssh-agent$ > /dev/null || {
        start_agent;
    }
else
    start_agent;
fi
After that save, and restart your Git Bash if you have it open.
5. Testing
Once you’ve done the steps above, all that is left is to test it out. One way to do it is to clone a git repository. Make sure you are using the SSH link:
git clone git@github.com:edgolub/private-repositoryYou can also commit and push, or just pull on an existing one. Just make sure the remote you are using is via SSH and not via HTTPS, you can check it on your local repo with git remote -v.
That’s it! You’re set to go!